Follow below steps to configure the Jmeter to connect your database.
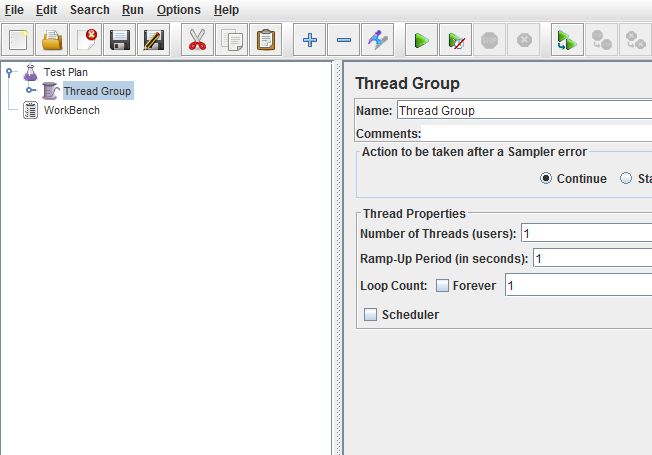
STEP 1: Open a new Test Plan and add a Thread Group in it.
STEP 2: Add a 'JDBC Connection Configuration' from 'Configuration Element' menu into the Thread group.
STEP 2: Add a 'JDBC Connection Configuration' from 'Configuration Element' menu into the Thread group.

STEP 3: Configure the 'JDBC Connection configuration' with respective database/tables as described below.

*Variable Name : We need to create a name for the JDBC pool. So that we can reference the pool name while executing a SQL query.
*Pool Configuration : Need to provide the number of concurrent connection in 'JDBC POOL'. (we used just 5, which means we can run just 5 parallel users only). Need to specify the pool timeout value too.
* Database Connection Configuration : This is the place we need to provide our database name, host and port.
The access credentials needs to be added into it.
* JDBC Driver Class:
Jmeter does not come with mysql JDBC driver. We need to download the latest JDBC mysql driver from Oracle site and hold a copy in Jmeter/bin folder. Mention the driver name in this column.
Only if we have a valid driver name, we can execute the query.
STEP 4 : JDBC Sampler
Add a JDBC sampler from ADD > Sampler > JDBC Request.

STEP 5: Add the SQL

* Give the sampler a valid name to be referenced in results
* Provide a valid Variable pool name, which we created in STEP 3 ( 'JDBC POOL')
* Type your SQL Query in the space provided.
STEP 6: Add a View Results Tree to observe the results.

STEP 7 : Para-metering the SQL
Create a list of parameters to be used in SQL in a 'User Defined Variables' configuration.

Refer the above created parameters in the SQL as required.

STEP 8: Execute the Jmeter
Configure the Thread group with number of Threads. These value give the number of Vusers run concurrently.
Please make sure these value does not exceed the pool configuration connection count 5(STEP 3)

Now you can observe the result of SQL in the 'View Results Tree' node.